


MPO Polishing Process: A Comprehensive Guide
MPO Polishing Process: A Comprehensive Guide
Polishing MPO (Multi-fiber Push-On) connectors is an essential procedure to ensure optimal fiber optic performance. The quality of the polishing process directly impacts insertion loss, return loss, and overall signal transmission. This multi-step process requires specialized polishing films, equipment, and techniques.
Below is a detailed overview of the MPO Polishing Process.

Step-by-Step MPO Polishing Process
1. Preparation
- Ensure Cleanliness: Clean MPO connectors, ferrules, and work surfaces to prevent contamination before polishing begins.
- Prepare Polishing Equipment: Set up the polishing machine, appropriate fixtures, and polishing pads, ensuring the machine is configured for MPO connectors.
- Select Lapping Films: Choose the appropriate lapping films for each stage, starting from coarse to fine grits.
2. Rough Polishing (Epoxy Removal) – Using SC15B or SC30 Films
- Goal: Remove excess epoxy and prepare the surface of the MPO connector ferrule for further refinement.
- Materials: Silicon Carbide (SiC) Lapping Films are ideal for this stage due to their efficient material removal properties.
- Grit Size: Use 30 µm or similar coarse grit to quickly remove excess epoxy and smooth the ferrule surface.
- Procedure:
- Apply even pressure while moving across the surface of the MPO connector ferrule.
- Monitor to ensure that all epoxy is removed and the surface remains smooth.
- Time: Typically, 30-60 seconds per connector.
3. Geometry Shaping (Medium Polishing) – Using AO3, SC3D, or SC9 Films
- Goal: Refine the connector's geometry to ensure proper alignment of the fiber cores and achieve a smooth surface.
- Materials: Aluminum Oxide (Al2O3) or Silicon Carbide (SiC) films provide a good balance of material removal and finishing quality.
- Grit Size: 9 µm or 3 µm grit is commonly used for this stage.
- Procedure:
- Apply the lapping film evenly and use moderate pressure to shape the ferrule's surface.
- This stage helps eliminate visible rough spots and refines the connector geometry.
- Time: Typically, 60-90 seconds per connector.
4. Fiber Height Control (Fine Polishing) – Using SC1A Films
- Goal: Ensure correct fiber height to prevent issues such as protrusion or undercut, which can degrade connector performance.
- Materials: Use Diamond Lapping Films or finer Aluminum Oxide films at this stage for more precise control.
- Grit Size: 1 µm grit is often used to achieve the precise fiber height.
- Procedure:
- Fine-tune the fiber height and smooth the surface to remove inconsistencies that could affect fiber contact.
- The correct fiber height ensures proper mating of connectors and reduces insertion loss.
- Time: Typically, 90-120 seconds per connector.
5. Final Polishing (Mirror Finish) – Using CE0.5B Films
- Goal: Achieve a smooth, mirror-like finish on the MPO connector to minimize insertion and return loss.
- Materials: Diamond Lapping Films are preferred for the final polishing due to their ability to provide a high-quality optical finish.
- Grit Size: Use sub-micron grits such as 0.1 µm to achieve a superior surface finish.
- Procedure:
- Focus on achieving an ultra-smooth and defect-free surface during this final stage.
- Inspect to ensure no imperfections, such as scratches or core dips, are left on the connector.
- Time: Typically, 120-180 seconds per connector.
6. Cleaning and Inspection
- Goal: Remove all polishing residues, debris, and contaminants from the connector to ensure no performance-affecting particles remain.
- Materials: Use clean, lint-free wipes and fiber optic cleaning solutions.
- Procedure:
- Clean the connectors thoroughly after final polishing to avoid contamination.
- Inspect the connectors using a fiber optic inspection microscope to ensure there are no defects, such as scratches or uneven fiber heights.
- Time: Allow sufficient time for cleaning and thorough inspection.
Key Considerations for MPO Polishing
-
Polishing Pressure: Apply consistent and controlled pressure throughout each stage. Excessive pressure can damage the connector, while insufficient pressure may result in inadequate material removal.
-
Polishing Duration: Pay attention to the duration spent on each stage. Over-polishing or under-polishing can negatively affect connector performance.
-
Polishing Pad Type: The type of pad used (e.g., velvet or flocked) affects the polishing result. Make sure the pad is suitable for MPO connectors and does not cause any damage.
-
Fiber Alignment: Proper fiber alignment is critical for optimal results. Any misalignment can lead to high insertion loss and poor fiber contact.
-
Cleaning Between Stages: To maintain quality, thoroughly clean the connectors between each stage to avoid contamination that may affect the finish.
Polishing Film Options for MPO Polishing
-
SC15B, SC3D, SC1A, and CE0.5B Films: Specialized films that help control fiber height, core dips, and deliver superior polishing results.
-
Diamond Lapping Films: Ideal for the final polishing stages, offering precision and durability.
-
Silicon Carbide Films: Effective for coarse to medium polishing stages, providing efficient material removal.
Conclusion
The MPO polishing process is crucial for ensuring the optimal performance of fiber optic connectors. By carefully following each stage of the process, using the right materials, and paying close attention to the details, high-quality, low-loss connections can be achieved for MPO connectors.
XYT™ provides specialized polishing films and equipment tailored to meet the precise requirements of MPO/MTP connector polishing, ensuring high optical performance, low insertion loss, and superior return loss.
-

Telecommunications
-

Automotive
-

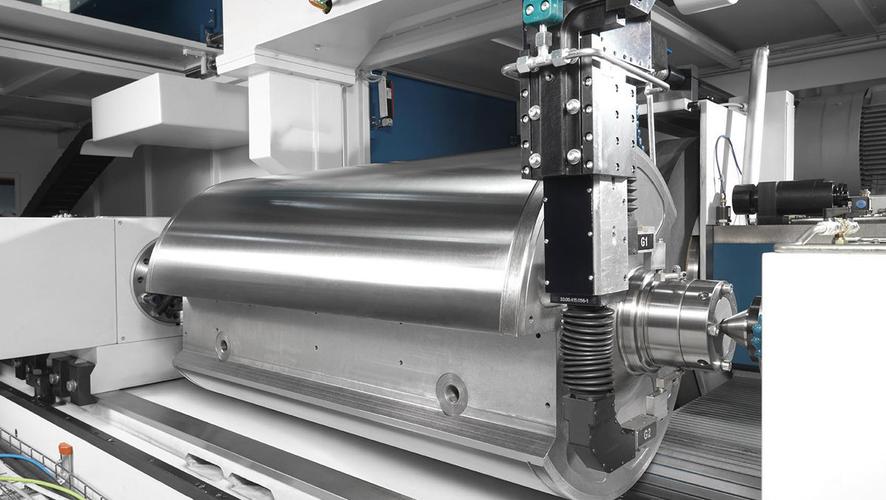
Roller finishing
-
Electronics
-
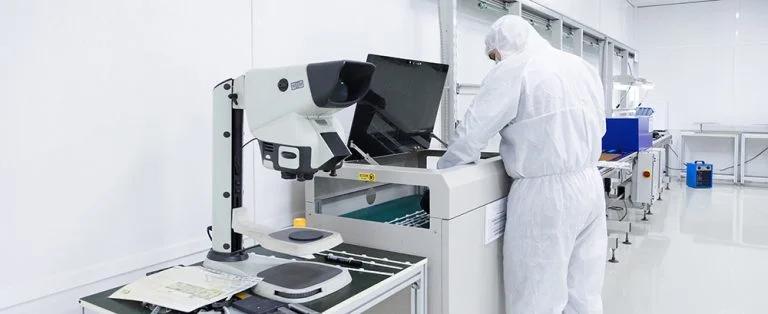
Semiconductors
-
Aerospace
-
Optical Glass Crystal
-
Jewellery lapidary
-

Medical
-

Oil & Gas
-
Food Processing
-
Furniture and Wood industry
-
Metals Finish
-

Fiber Optics Polishing
-
Music industry
-
LED LCD Panel
-
Mobile Phone Industry
-
Watch
-
Printing and Paper industry
-
Engine and Machine parts
-
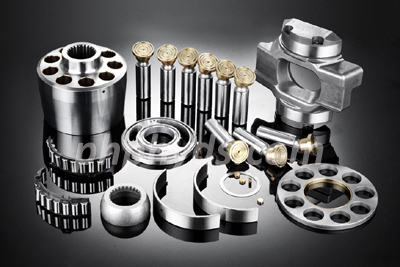
Hydraulic components
-
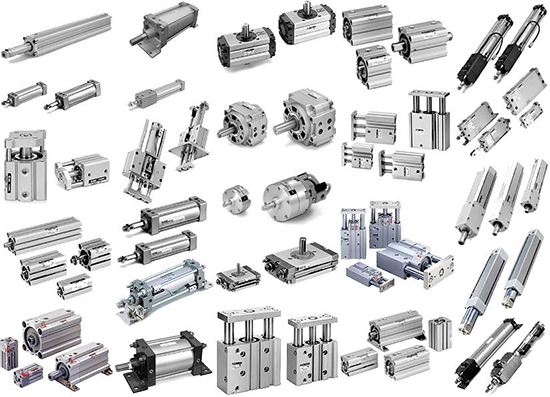
Pneumatic components
-
Ball bearings
-
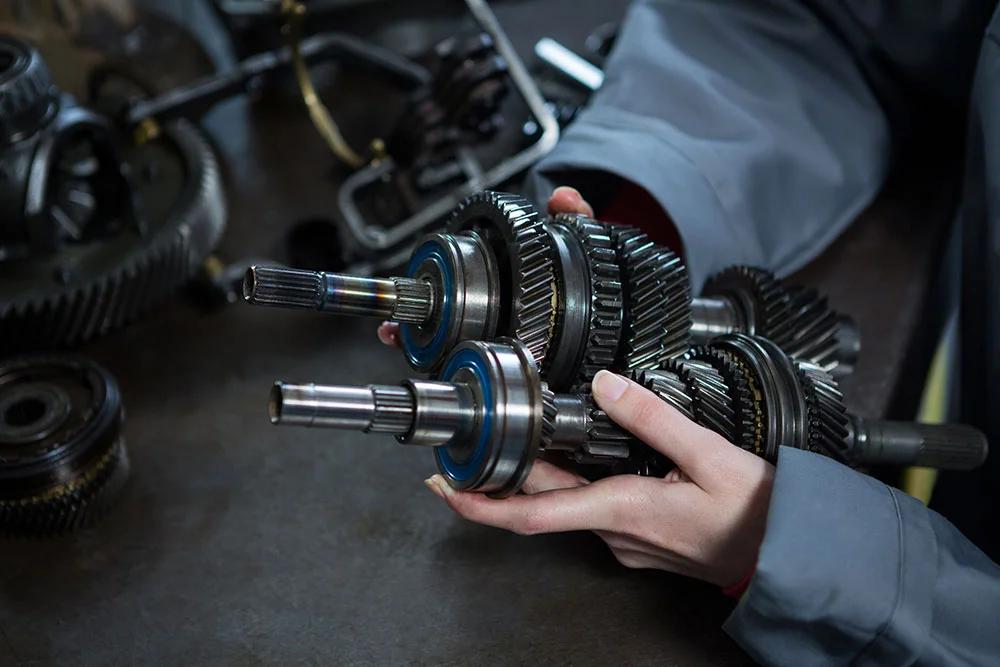
Gear and Train components
-
Moulds
-
Cranks Cams and Steering devices
-
Dental Polishing
-

Knife Blade Tools sharpening
-
Hard disks and Magnetic head
-

Other parts end face polishing


